
Introduction:
Installing exhaust wrap is a popular modification among automotive enthusiasts seeking to improve performance and thermal management. This thermal insulation solution offers numerous benefits, including increased horsepower, reduced under hood temperatures, and improved engine efficiency. While the process may seem daunting at first, with the right tools and following a step-by-step approach, installing exhaust wrap can be a straightforward task. In this article, we will provide a comprehensive guide on how to properly install exhaust wrap to optimize your vehicle's performance.
Tools and Materials Needed:
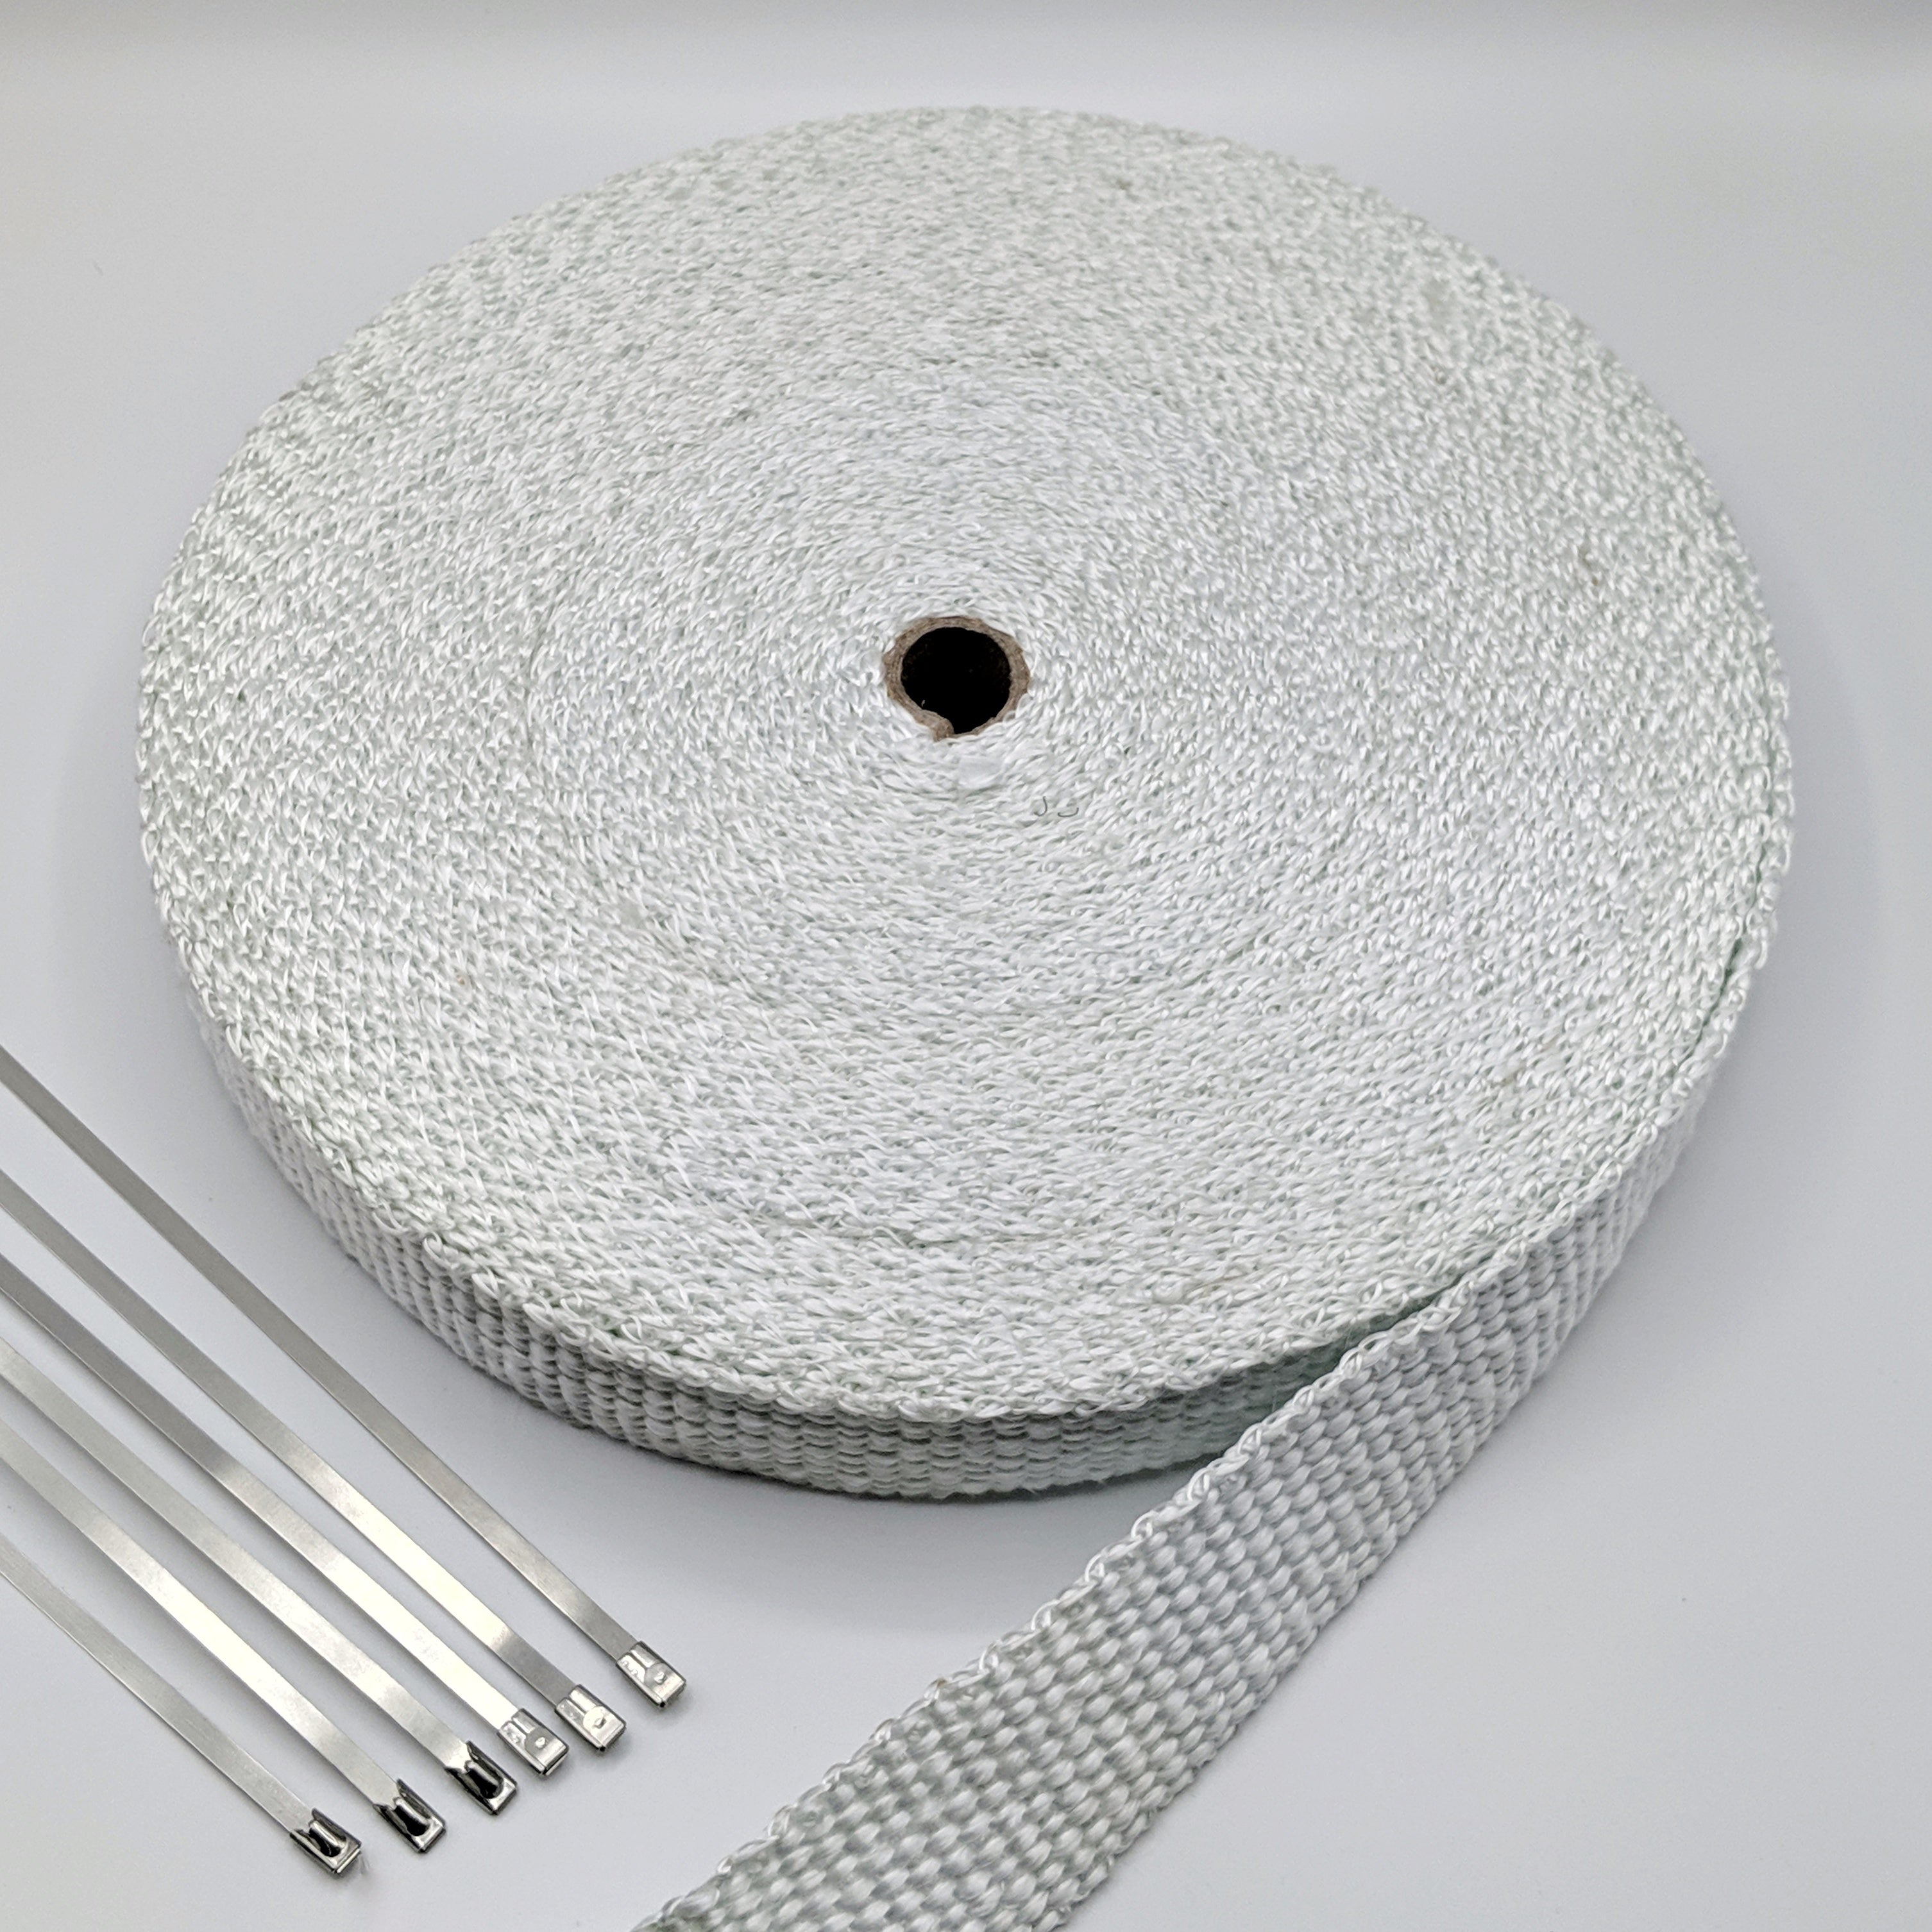
- Exhaust wrap
- Safety gloves
- Safety glasses
- Hose clamps or stainless steel wire ties
- Scissors or utility knife
- Spray bottle filled with water or heat-resistant adhesive spray
- Heat-resistant gloves
Step 1: Preparation
Before starting the installation process, ensure that the vehicle's engine and exhaust system have cooled down to avoid any risk of burns. Put on safety gloves and glasses to protect yourself during the installation.
Step 2: Measuring and Cutting the Wrap
Measure the length of the exhaust pipe(s) you wish to wrap. Add a few extra inches to accommodate overlap and secure the ends. Using scissors or a utility knife, cut the exhaust wrap to the desired length.
Step 3: Wetting the Wrap
To ease the installation process, it is recommended to wet the exhaust wrap with water or use a heat-resistant adhesive spray. This helps prevent the wrap from fraying and makes it more pliable. Use a spray bottle to evenly dampen the entire length of the wrap.
Step 4: Securing the Beginning
Start by wrapping the exhaust wrap around the exhaust pipe, leaving a small amount of overlap at the beginning to secure the wrap in place. Alternatively, you can use hose clamps or stainless steel wire ties to hold the initial end of the wrap.
Step 5: Wrapping Technique
Continue wrapping the exhaust wrap tightly and evenly around the exhaust pipe, ensuring each wrap slightly overlaps the previous one. Maintain consistent tension throughout the process to achieve a neat and secure wrap. Be cautious not to wrap too tightly, as this can restrict exhaust flow.
Step 6: Overlapping and Securing the End
As you approach the end of the exhaust pipe, leave a small amount of overlap to secure the wrap. Using hose clamps or stainless steel wire ties, fasten the end of the wrap tightly to prevent unravelling. Trim any excess wrap if necessary.
Step 7: Repeating the Process
If you have multiple exhaust pipes to wrap, repeat the process for each one, ensuring consistent overlap and tension.
Step 8: Finishing Touches
Once the exhaust wrap is securely in place, you can use heat-resistant adhesive spray to further seal the wrap if desired. This step is optional but can provide added protection against fraying and moisture.
Step 9: Drying and Curing
Allow the exhaust wrap to dry and cure. Start the vehicle and let it idle for a few minutes to help the wrap adhere and set in place. During this process, some smoke and odour may be emitted as the wrap adjusts to the heat.
Conclusion:
Installing exhaust wrap is an effective way to improve performance and manage heat in your vehicle's exhaust system. By following these step-by-step instructions, you can confidently install exhaust wrap, optimizing thermal efficiency and reaping the benefits of reduced under hood temperatures, increased horsepower, and improved engine efficiency. Remember to prioritize safety, take your time, and ensure a proper and secure wrap installation. With a little effort, you can successfully install exhaust wrap and enhance your driving experience.
